
How to Hold B Site on Anubis Without Getting Run Down

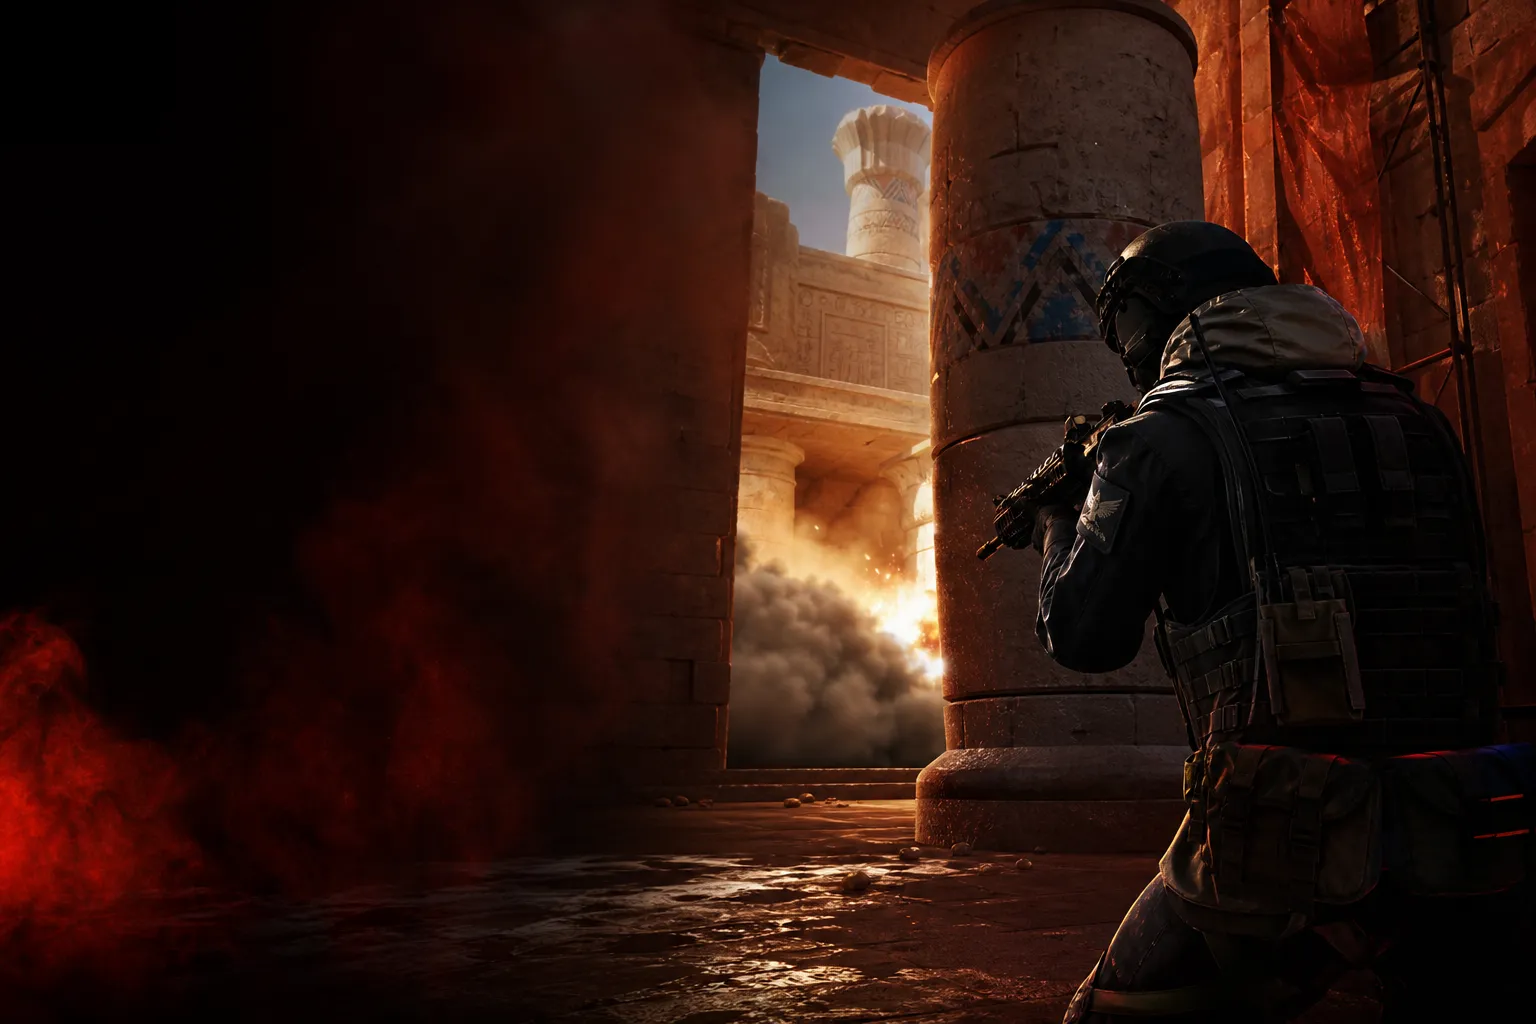
You know the feeling on Anubis B: you’ve got a nice little setup, maybe a smoke on CT, one guy tucked in lanes, and then the T side just keeps coming like they’ve got a hotline to your site. One flash, a body in canal, another through mid, and suddenly you’re retaking from the wrong side of the map. B on Anubis isn’t hard because it’s huge. It’s hard because if you give up even a tiny bit of space, the site feels like it shrinks to half its size.
That’s the whole problem. Most teams don’t lose B because their aim is bad — they lose it because they stand in the wrong spots, burn utility too early, and let the Ts take connector timing for free. If you’ve ever watched a Premier lobby turn into a deathball at 2:30 on the clock, yeah, this is that site.
Why B on Anubis gets ugly so fast
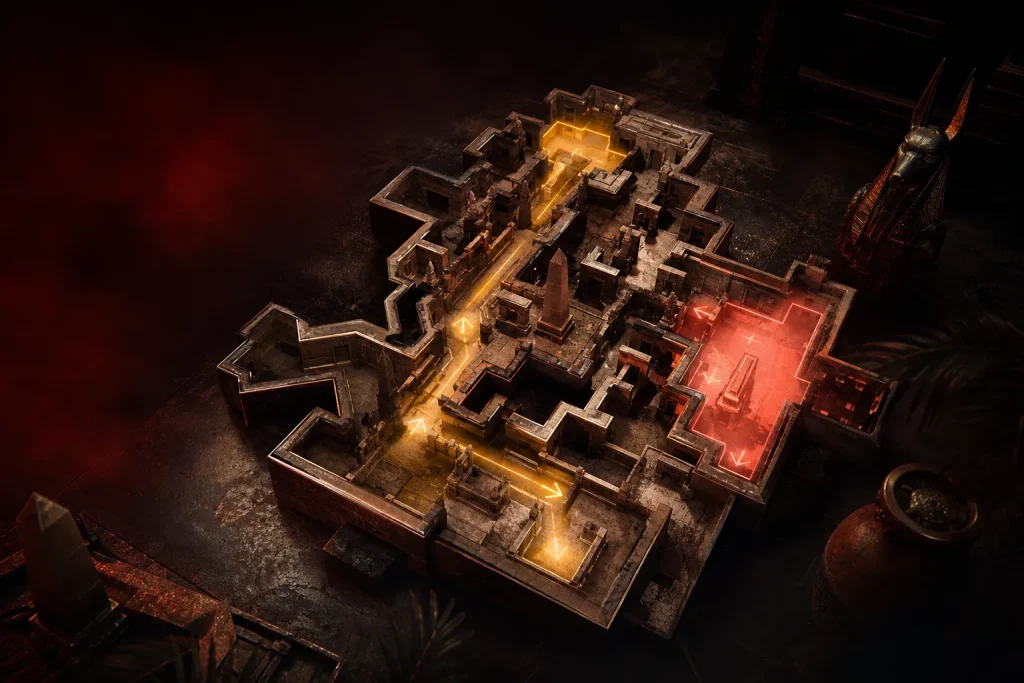
Anubis B is one of those sites where geometry matters more than raw bravery. The site is boxed in by lanes, canal, and the CT route through spawn. That means if the T side gets map control, you’re not fighting one front. You’re fighting three angles, and they all feed into the same little square of misery.
The nasty part is how fast the hit scales. A decent T side can smoke, flash, and flood B off just one or two pieces of info. Because Source 2 subtick made utility and peeks feel cleaner, people are way better at chaining contact into a full exec now. In old CS, some of that timing got messy. In CS2, if the entry knows exactly when he’s swinging canal off a flash, you’re basically playing catch-up.
That’s why “hold the site” is the wrong mental model. You’re not anchoring a castle. You’re buying 10 to 20 seconds of pain so your rotator, usually mid or A, can actually help. If you get greedy and play for the highlight, B gets run over.
The positions that actually survive
Forget the fancy stuff. Good B anchors on Anubis live in spots that let them fall back, re-peek, or stall the hit without being instantly deleted. You want layers, not hero angles.
1. Start with a live position, not a death trap
If you’re solo B, don’t plant yourself where one pop flash clears everything. Play something that lets you survive the first contact and still fight after the smoke lands. Think of positions that can see enough to get info, but don’t lock you into a duel you can’t disengage from.
- Close right or left can work if you’ve got flash support.
- Backsite is fine, but only if you can swing off a teammate’s utility.
- CT-side cover is safer when the Ts haven’t shown canal control yet.
Mid-round, the best anchors are annoying. They don’t need four kills. They need to live long enough to force the Ts to clear three spaces instead of one.
2. Don’t overcommit to canal
Canal is bait. Good Ts love taking it because it feels like free real estate, and bad CTs keep dry-peeking it like it’s Mirage mid in a 2017 Faceit demo. Don’t do that. If you lose canal without burning utility, fine. If you die fighting for it alone, B site gets a giant hole in it.
What you want is pressure plus information. A molly or HE can tell you if they’re stacking canal early. A shoulder peek can bait the first flash. Then you back out and make them spend more. If they’re walking up with a galil swarm and a MAC-10 rush on a round 2 buy, let them show their hand first.
Utility that buys real time, not fake comfort
Bad B holds die because the utility gets thrown like a prayer. One smoke, one flash, then everyone stands still and hopes donk somehow whiffs the entry. That’s not a plan.
You want utility that changes the shape of the hit. A good smoke should force the T side to cross blind or burn more time clearing corners. A good HE should punish the first guy trying to slip through canal. A molotov should either stop the plant or make the planter plant ugly.
Here’s the basic order I like on a standard CT buy:
- First contact? Delay with a flash or molly, not both.
- When they commit through smoke, pop the second flash for your teammate or yourself.
- Save one piece for the post-plant, because Anubis retakes get weird fast.
That last part matters. If you dump all your utility before the bomb even goes down, you’re basically retaking with pistols and vibes. And against a team that knows how to space their execs, that’s death. This is where the economy hits too: if you’re spending $300 on a smoke and $200 on a flash every round while never surviving, your team is stuck in half-buy hell by round 5.
How to stop the classic B exec
The standard Anubis B hit usually looks the same: pressure canal, smoke your sightlines, flash over, then flood through the choke. It’s not flashy. It’s just good spacing, and good spacing ruins solo anchors who panic.
To break it, you need to make the exec awkward at the exact moment it wants to become clean.
Watch for the first smoke timing
If the T side smokes too early, they’re probably not ready to explode yet. That’s your cue to jiggle for info and save your main denial for the real commit. If they wait forever, they’re probably taking B slowly, which means you can ask for a rotator before the hit lands.
That’s the key read. B defenders who think in terms of “they’re here” or “they’re not here” get farmed. Think in terms of timing windows. An exec at 1:15 looks totally different from one at 0:45. One is playable. The other is usually a full commit with no room to reset.
Fight the planter, not the first body
People tunnel on the first T they see and then lose the round to the bomb. Classic. If you’re holding B, your real job is to make planting annoying enough that the T side has to spend a second man covering the planter instead of swinging your teammate. That’s how anchors stretch a hit.
If you can, keep your crosshair set for the planter’s path, not just the entry line. It sounds boring. It wins rounds.
Teammate coordination beats solo heroics every time
If you’re playing B without a lane partner or a mid rotator who actually listens, yeah, it’s harder. But that doesn’t mean you need a miracle. It means you need usable comms. Short ones. Clean ones. None of that “they might be coming maybe with one or two guys” nonsense.
Say what matters:
- “One canal, no flash yet.”
- “Smoke B, I’m falling.”
- “Need one now, they’re committing.”
- “Bomb down B, play retake.”
That style of comms wins because it tells your team when to move. You don’t need to sound like s1mple in a highlight video. You need your rotator to show up before the bomb hits the floor.
And if you’re the second guy on B, don’t stand in the same angle as your anchor. That’s free value for the Ts. Crossfire the site from different elevations or different timings. Make them clear one angle, then another, then another. ZywOo doesn’t get multi-kills by staring at the same head level as his teammate.
Common mistakes that get B players farmed
A lot of Anubis B losses come from ego, honestly. People want the clean duel. They want the clip. The site punishes that kind of thinking harder than Mirage A ramp ever did.
- Dry peeking canal at round start.
- Using both smokes before the hit is even confirmed.
- Standing on the bomb plant spot with no escape path.
- Anchoring too deep and giving up every piece of map control for free.
- Rotating on sound alone and leaving B empty while the Ts fake A, because yeah, teams do that every other round in Premier once they realize your CT side is jumpy.
Watch enough Major games and you’ll see the same theme over and over: teams that hold sites well don’t chase chaos. They force the T side to show the full shape of the hit before they commit bodies. That’s why donk-style entries work so well against panicked defenders — the defenders give him space, then swing late, then die anyway. Don’t be that defender.
The real goal: make them spend the whole round fighting for B
Holding B on Anubis isn’t about living forever. It’s about turning a clean T hit into a messy one. If you burn 20 seconds, force a smoke, trade one kill, and survive with a flash or molly still in hand, you’ve already done your job. The round gets harder for the Ts, and your team gets time to stack the bombsite or retake on your terms.
That’s the mindset shift. Don’t ask, “Can I hold this site alone?” Ask, “How expensive can I make this take?” Because in CS2, with 64-tick subtick timing and players grinding Premier every night, the team that wastes less time and utility usually wins the round. So next time B gets pressured, stop trying to be a hero and start trying to be a headache — which anchor do you think wins more rounds, the guy who gets one flashy kill, or the guy who makes five Ts burn 25 seconds just to plant?